
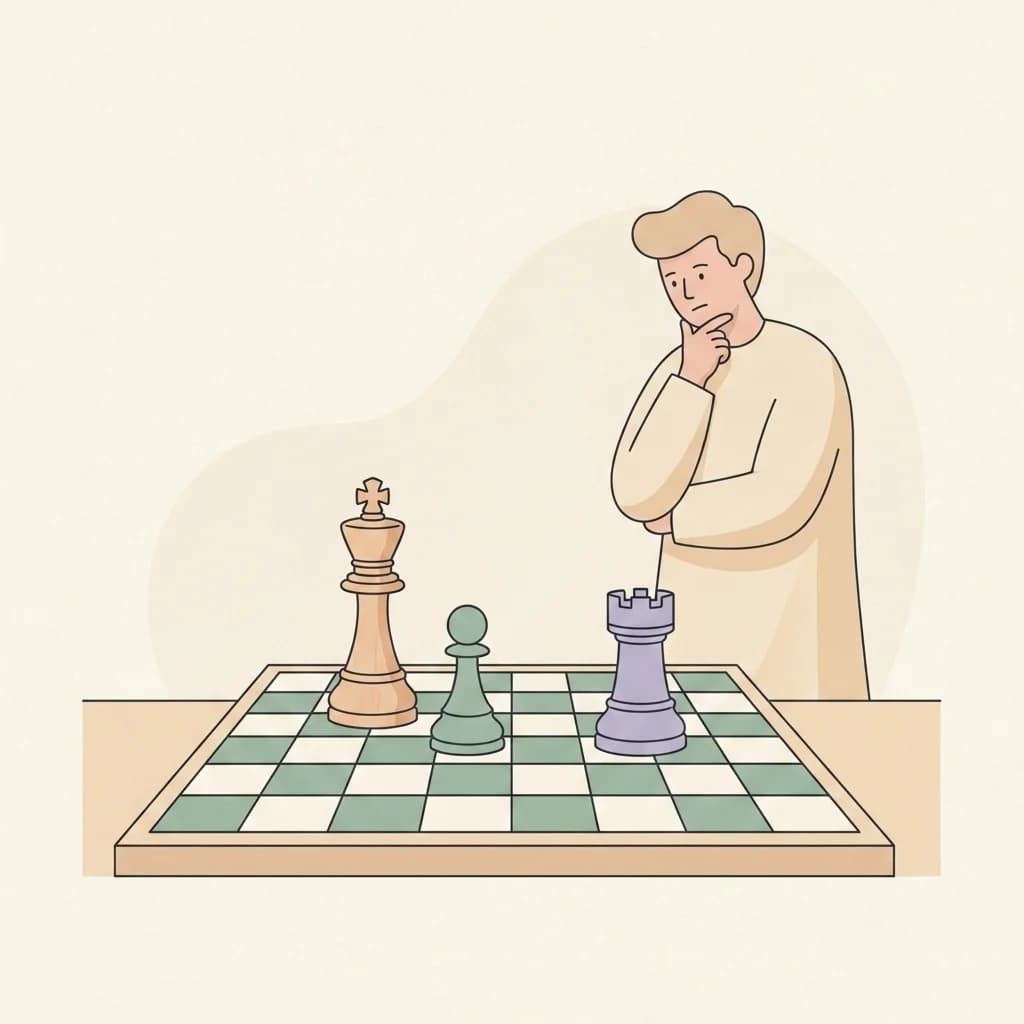
A king and rook checkmate works only when both pieces have clear jobs. The rook builds a wall. Your king takes away escape squares. Together they push the bare king to an edge, where one final rook check becomes mate.
How do you actually train chess?
The method is a four-part loop: build a box, bring your king closer, shrink it when the kings face each other, and wait with the rook when they do not. Keep the rook safe.
Know the final picture first
Checkmate means the king is in check and has no legal move, as defined in the FIDE Laws of Chess. In the final position, the defending king sits on an edge. Your king controls the three squares through which it could leave that edge, and your rook checks along the rank or file.
A rook controls straight lines but cannot control the squares beside itself safely without support. Your king supplies that support from a distance. The Chess.com king-and-rook guide describes the same practical goal: confine the king, bring your own king in front of it, then check it toward the edge.
Do not rush to give checks. A check is useful when it reduces the available space or delivers mate. Random checks often send the king across the board and make you start again.
Build the first box with the rook
Imagine the rook as a movable fence. If the defending king is above the fourth rank and your rook controls the fourth rank, that king cannot cross the fence. It now lives inside a smaller rectangle.
Position 1 — create a safe fence
FEN: 8/8/8/3k4/8/8/8/1K5R w - - 0 1
White: king b1, rook h1. Black: king d5. White to move.

A clear move is 1.Rh4. The rook controls the fourth rank, so the black king is confined to ranks five through eight. The rook is also too far away to be captured. White should now bring the king closer. For example, after 1...Ke5 2.Kc2, the box remains in place while the white king improves.
That line is an illustration, not a forced continuation. Black can choose another legal king move. White's plan stays the same: preserve the fence, approach with the king, and only tighten the box when it is safe.
Use your king to force the king backward
The rook creates the box, but your king makes it smaller. Bring your king toward the defender until the kings face each other with one square between them. The kings cannot move next to each other, so your king controls the forward escape squares. A rook check can then force the defender backward.
Position 2 — shrink the box with opposition
FEN: 8/8/6k1/8/6K1/8/8/R7 w - - 0 1
White: king g4, rook a1. Black: king g6. White to move.

Play 1.Ra6+. The white king controls f5, g5, and h5, while the rook checks across the sixth rank. Black must leave that rank: the legal replies are 1...Kf7, 1...Kg7, or 1...Kh7. The box has become one rank smaller.
This is the moment to check: the kings' alignment makes the retreat happen. If your king were farther away, the same rook check would not necessarily force the defender toward the edge.
Use a waiting move when the alignment is wrong
Sometimes your king is close enough, but the defending king keeps stepping away from direct opposition. Chasing it with your king can repeat the position. Instead, slide the rook along its current fence. The box does not change, your rook stays safe, and the defender must move.
Position 3 — pass the move back
FEN: 8/6k1/8/4K3/R7/8/8/8 w - - 0 1
White: king e5, rook a4. Black: king g7. White to move.

Play 1.Rh4. This is a waiting move along the fourth rank. It preserves the barrier and asks Black to reveal a direction. If Black chooses 1...Kg8, one clean continuation is 2.Kf6 Kf8 3.Rh8#.
Black's first reply in that sample is not forced; Black can also move toward the f-file or sixth rank. Do not memorize the branch as a universal sequence. Read the new king position, bring your king into opposition, and use the next rook check only when it cuts off another rank or file.
Keep the rook outside capture range
The defender's only piece is the king, so losing the rook ends your winning chances immediately. Before every rook move, ask whether the bare king can capture it on the next move. Also check whether your own king protects the rook if it must stand nearby.
Position 4 — choose safety over a flashy check
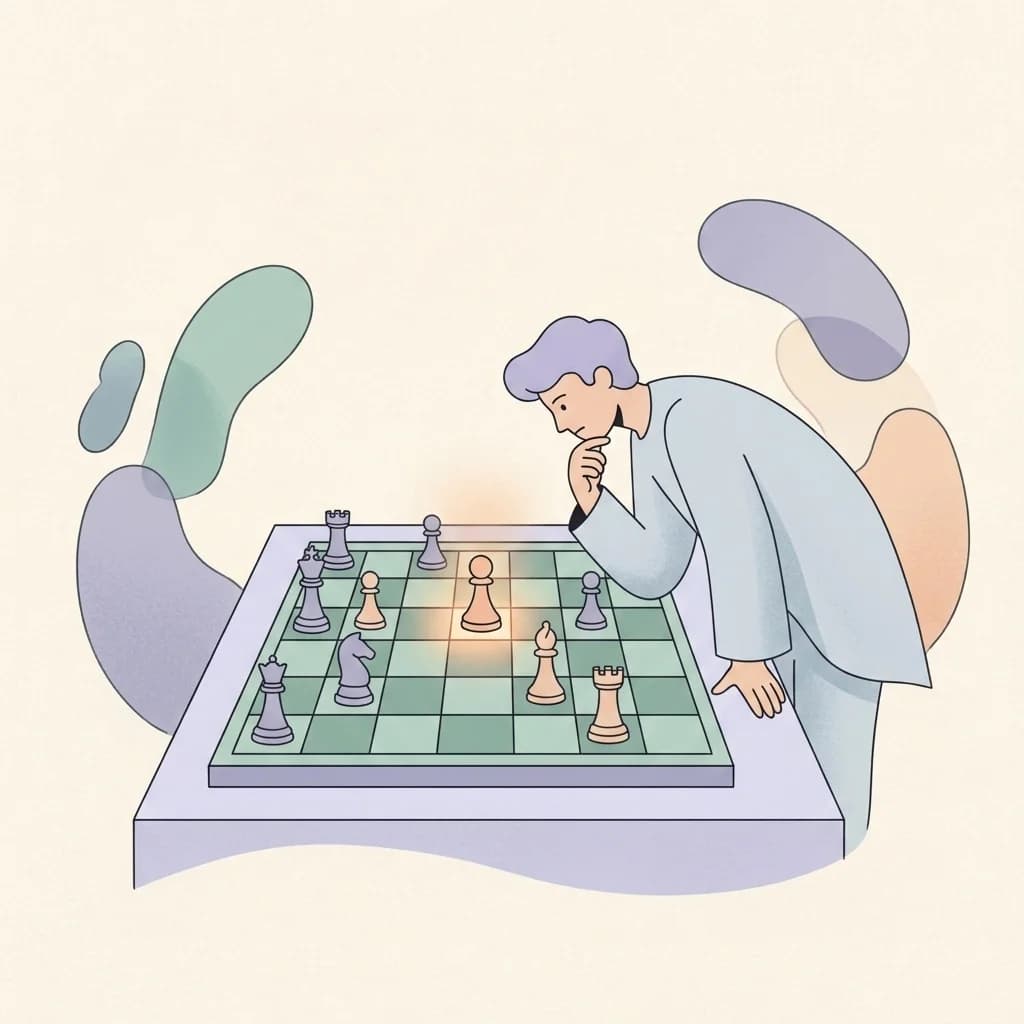
FEN: 8/8/8/8/6k1/8/2K5/7R w - - 0 1
White: king c2, rook h1. Black: king g4. White to move.

Play 1.Rf1. The rook creates a vertical fence on the f-file and stays out of reach. White can then walk the king toward the restricted area.
The tempting 1.Rh4+?? fails to 1...Kxh4. The check does not protect the rook, and after the capture only the two kings remain. That position is a draw. A safe move that preserves the method is better than a check with no lasting purpose.
Avoid stalemate too. If the defending king has no legal move but is not in check, the game is drawn. For example, with White king c6 and rook b6 against Black king a8, White must avoid Rb7?: it covers every escape square without checking the king. Before tightening a very small box, check that the defender still has a legal move or is actually checkmated.
Practise the method as a decision loop
Set up the four positions on a physical board or analysis board, then play against random legal king moves. Do not reset because the defender chose a different square from the example. That is the point of the exercise.
On each turn, ask:
- Is my rook safe?
- What rank or file forms the current box?
- Can my king move closer without releasing the box?
- Do the kings face each other so a rook check will shrink it?
- If not, can the rook make a waiting move along the same fence?
Practise until you can answer those questions without searching for a memorized line. For the wider principles behind king activity and rook placement, read Chess Endgames Simplified. To turn model positions into a weekly routine, use How to Study Endgames Without Getting Lost.
The core stays compact: box, king, opposition, safe check, repeat. If you want to work through technical positions from your own games with a structured plan, see the online chess lessons.