
You see a useful square, move a piece there, and immediately watch it disappear. To stop hanging pieces, practise looking at the position after your intended move, including your opponent's simplest capture. Knowing that you should be careful is less useful than knowing exactly what to look for.
What kind of player are you really?
A hanging piece is available to be captured without an adequate answer. An undefended piece is not automatically hanging: an opponent still needs a legal way to take it. Conversely, a piece can appear defended while its defender cannot legally recapture.
The six positions below isolate those differences. They are original training setups, with few pieces so you can concentrate on one problem. They are not positions taken from a student's games. Use a board if visualising the moves is difficult; the notation guide explains the move names.
Use three questions before you release the piece
Start with your opponent's last move. Then choose a candidate move and ask:
- What is attacked now? Look at your king first, then your queen, rooks and minor pieces.
- What changes if I play this? Your piece leaves one square, lands on another and may open a line or abandon a defender.
- What would my opponent capture next? Check whether your intended recapture is legal and whether the exchange helps you.
This is a training routine, not a guarantee against every tactic. Use slower games while learning it. You need enough time to move your attention from your own idea to your opponent's reply. For the wider decisions around development and king safety, see beginner chess strategy.
Solve six positions before reading the answers
White is at the bottom of every diagram. All unlisted squares are empty. In exercises 1–4 and 6, it is White's turn; in exercise 5, Black moves. Cover the answer, name the danger aloud and only then move the pieces.
1. Notice the attack already on the board
White: king a1, rook h1, knight c3. Black: king g8, bishop b4. White to move. Is 1.Rh2 safe for all your pieces?

Answer: After 1.Rh2? Bxc3+, Black takes the knight. Moving the rook did nothing about the bishop's existing attack. One safe response is 1.Nd5, moving the knight away and attacking the bishop. You do not need to find an ambitious plan before noticing a piece that is already threatened.
2. Check the destination square
White: king a1, rook b1. Black: king h8, knight d4. White to move. Compare 1.Rb5 with 1.Rb2.

Answer: 1.Rb5? Nxb5 loses the rook. The knight on d4 attacks b5 even though the square between the pieces is irrelevant: knights jump. 1.Rb2 avoids that immediate capture. Before moving onto a square, trace the opponent's knight jumps as well as the straight and diagonal lines.
3. Ask what your moving piece was defending
White: king a1, rook d4, bishop f2. Black: king h8, rook d8. White to move. What changes after 1.Be1?

Answer: Initially, ...Rxd4 can be answered by Bxd4: the bishop on f2 protects d4 through e3. After 1.Be1? Rxd4, that recapture has disappeared. Moving the rook away with 1.Ra4, for example, avoids the problem. A piece can have an important defensive job even when you are thinking about using it elsewhere.
4. Look through the square you leave
White: king a1, rook c2, bishop c4. Black: king h8, rook c8. White to move. Test 1.Be2.

Answer: 1.Be2? Rxc2 loses the rook. The bishop had been blocking the c-file; when it leaves c4, the black rook can see all the way to c2. 1.Rd2 moves the target off that file. When a piece moves, inspect the newly opened line behind it, not just its destination.
5. A defender may be pinned
White: king a1, rook e1, bishop e2. Black: king h2, rook h1, bishop h5. Black to move. Can Black take the bishop on e2?

Answer: Yes: 1...Bxe2 takes it. White's rook appears to defend e2, but Rxe2 is illegal: leaving the first rank would expose the king on a1 to the rook on h1. The black king on h2 also protects that rook. Counting defenders only works if those defenders can actually move.
6. A capture can still lose material
White: king a2, rook c4. Black: king h8, bishop d4, pawn e5. White to move. Is 1.Rxd4 a free bishop?

Answer: No. 1.Rxd4? exd4 gives a rook for a bishop. Black's pawn moves diagonally to capture towards White's end of the board. 1.Rc2 keeps the rook safe from an immediate capture. This example is a bad exchange rather than a completely free piece: checking the recapture prevents both mistakes.
Turn the exercises into a short practice session
Set up two positions at a time. Say your proposed move, identify the opponent's capture and explain the role of every defender. Then replay the position with the colours or piece locations changed, checking the new setup rather than memorising the old answer.
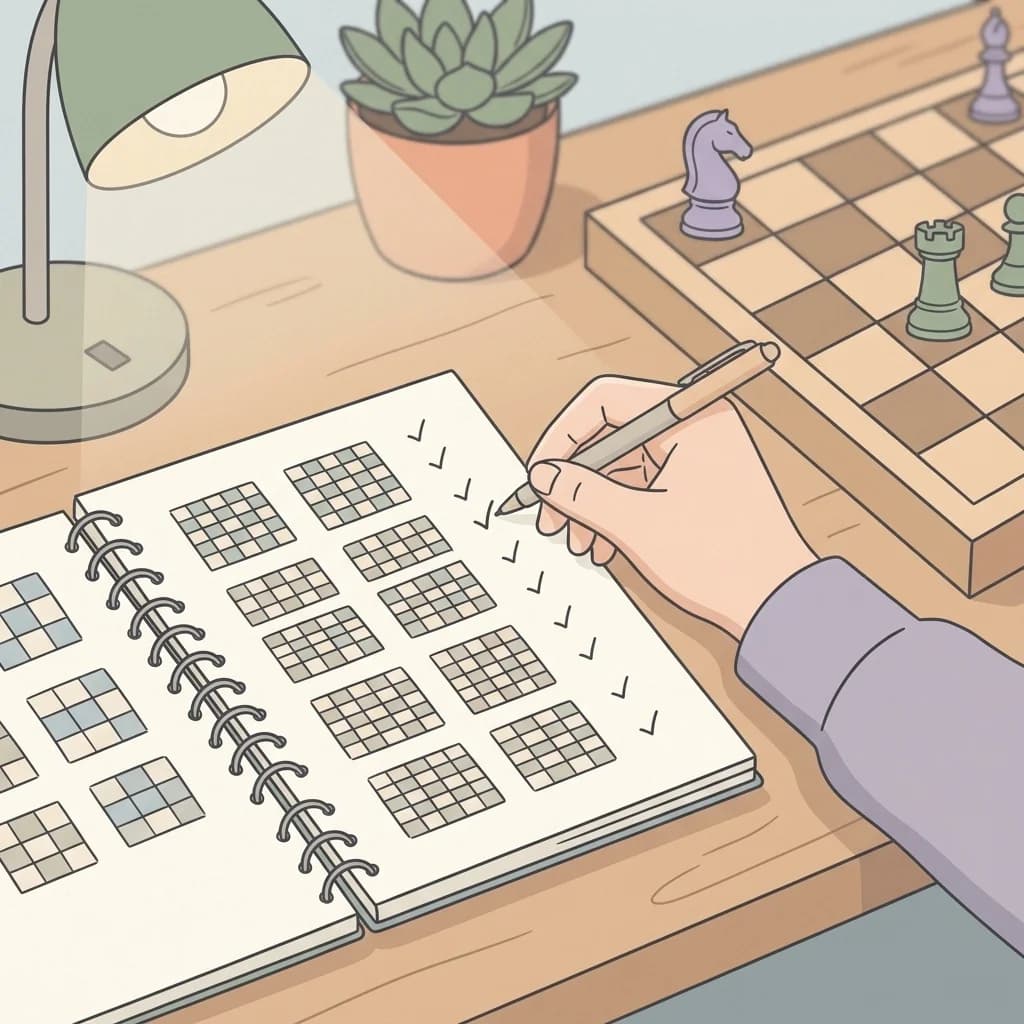
When that becomes comfortable, repeat the same questions in a slower game. Do not try to make a long checklist run at bullet speed. The goal is a reliable pause at the moment you choose your move, especially when a capture or check feels tempting.
Review the cause of each lost piece
After a game, find the first avoidable material loss. Before consulting an engine, record which part of the check failed: an existing attack, an unsafe destination, a departing defender, an opened line, a pin or an overlooked recapture.
Add the position to a small collection and solve it again later. Track whether the same type of mistake keeps appearing; a changing rating after a few games is a much noisier signal. The game-analysis guide gives you a structure for turning that observation into your next practice session.
Get feedback on your own recurring mistakes
These sparse positions make the idea visible. In a real game, several threats can compete for your attention. Bring two or three examples where you missed the opponent's reply to an online chess lesson, so we can work on the decision that led to the error and choose exercises that fit it.